
Table of Contents
Wireless networks are the backbone of modern connectivity, and knowing how to enable and disable WLAN on your router can make a huge difference in managing your home or office internet. Whether you’re boosting security, saving energy, or troubleshooting a pesky connection issue, mastering your router’s wireless settings is a must. In this in-depth guide, we’ll walk you through everything you need to know about WLAN (Wireless Local Area Network), from the basics to advanced tricks. Let’s dive into this complete tutorial and empower you to take control of your wireless network!
Step 1: Understanding WLAN Basics
What is WLAN? (Wireless Local Area Network Explained)
WLAN, or Wireless Local Area Network, is a system that lets devices like laptops, phones, and smart TVs connect to the internet without cables. It uses radio waves to transmit data between your router and your gadgets. Think of it as an invisible web linking everything together in your home. Unlike a wired LAN (Local Area Network), WLAN gives you freedom to move around while staying connected.
Here’s a fun fact: WLAN isn’t the same as Wi-Fi, though people often mix them up. Wi-Fi is a specific technology that powers most WLANs, certified by the Wi-Fi Alliance. WLAN has been around since the 1990s, evolving from slow, clunky systems to the lightning-fast networks we use today.
- Synonyms: Wireless Network, Wi-Fi Network
- Antonyms: Wired LAN, Ethernet
- Hyponyms: Home Wi-Fi, Office WLAN
Why Enable/Disable WLAN? (Security, Energy Saving, Troubleshooting)
So, why would you want to turn WLAN on or off? There are tons of reasons! Enabling WLAN lets you connect multiple devices effortlessly—perfect for streaming, gaming, or working from home. But disabling it can be just as useful. For security, turning off WLAN when you’re away stops hackers from sneaking into your network. It’s also a great way to save energy, especially if you don’t need Wi-Fi 24/7. Plus, if your internet’s acting up, toggling WLAN off and on can be a quick fix for troubleshooting.
Quote: “A secure WLAN is a happy WLAN. Control it, and you control your digital life.” – Tech Expert, Jane Doe
Step 2: Accessing Your Router Settings
Default Gateway Login (Find Your Router’s IP Address)
To manage your WLAN settings, you first need to log into your router. This starts with finding your router’s IP address, also called the default gateway. On Windows, open Command Prompt and type ipconfig—look for the “Default Gateway” number (usually something like 192.168.0.1). On a Mac, head to System Preferences > Network > Advanced > TCP/IP tab.
- Common IP Addresses:
- 192.168.0.1 (Linksys, Netgear)
- 192.168.1.1 (TP-Link, D-Link)
- 10.0.0.1 (Xfinity)
Username and Password (Default Credentials or Custom Setup)
Once you’ve got the IP, type it into your browser. You’ll see a login page asking for a username and password. New routers often use defaults like “admin” for both fields (check your router’s manual or sticker). If you’ve changed these before, use your custom credentials. Forgot them? Don’t worry—we’ll cover resets later.
Secure Access Tips (Avoiding Unauthorized Changes)
Keeping your router login safe is critical. Hackers love guessing weak passwords! Here’s how to lock it down:
- Change the default username and password ASAP.
- Use a strong password (mix letters, numbers, symbols).
- Write it down somewhere safe—don’t stick it on the router!
Step 3: Enabling WLAN
Step-by-Step Activation (Navigating to Wireless Settings)
Ready to enable WLAN? Log into your router, then look for a tab like “Wireless,” “Wi-Fi Settings,” or “WLAN.” Click it, and you’ll see an option to turn the wireless feature ON. Hit “Apply” or “Save,” and boom—your WLAN is live! Some routers reboot after this, so give it a minute.
SSID Configuration (Naming Your Network for Identification)
Your SSID (Service Set Identifier) is your network’s name—like “HomeWiFi” or “OfficeNet.” You can keep the default or get creative. Pro tip: Avoid personal info (e.g., “JohnsWiFi”) to stay discreet. After setting it, save the changes.
Security Protocols (WPA2/WPA3, Password Setup)
Now, secure your WLAN with a security protocol. WPA2 is solid, but WPA3 is the latest and greatest, offering better encryption. Pick one, then set a strong Wi-Fi password—at least 12 characters long. Example: MyWLAN2025!. Save it, and reconnect your devices with the new password.
Protocol | Strength | Notes |
WEP | Weak | Outdated, avoid it |
WPA2 | Strong | Widely supported |
WPA3 | Strongest | Newer, future-proof |
Step 4: Disabling WLAN
Temporary vs. Permanent Disabling (When to Use Each)
Want to disable WLAN? You’ve got options. Temporary disabling is great for short breaks—like sleeping or traveling. Use it to save power or block kids’ screen time. Permanent disabling suits wired-only setups or extreme security needs (e.g., a vacation home).
Step-by-Step Deactivation (Via Admin Panel or Physical Button)
From the router’s admin panel, go to Wireless Settings and toggle WLAN OFF. Save it, and the signal’s gone. Some routers have a physical Wi-Fi button—press it for a quick disable (check your model). Lights on the router usually dim when WLAN’s off.
Alternative Methods (Scheduling WLAN Availability)
Fancy some automation? Many routers let you schedule WLAN—say, ON from 7 AM to 10 PM. Look for “Wi-Fi Scheduling” in the settings. It’s perfect for managing usage without manual toggling.
Step 5: Troubleshooting Common Issues

Router Not Responding (Reboot, Firmware Updates)
If your router’s ignoring you, reboot it—unplug it for 30 seconds, then plug it back in. Still stuck? Check for firmware updates in the admin panel under “System” or “Maintenance.” Updates fix bugs and boost performance.
Forgotten Credentials (Factory Reset Instructions)
Lost your login? A factory reset is your fix. Find the reset button (a tiny hole), press it with a paperclip for 10 seconds, and wait. Warning: This wipes all settings, so you’ll need to set up WLAN again.
Weak Signal After Enable (Antenna Adjustment, Interference Checks)
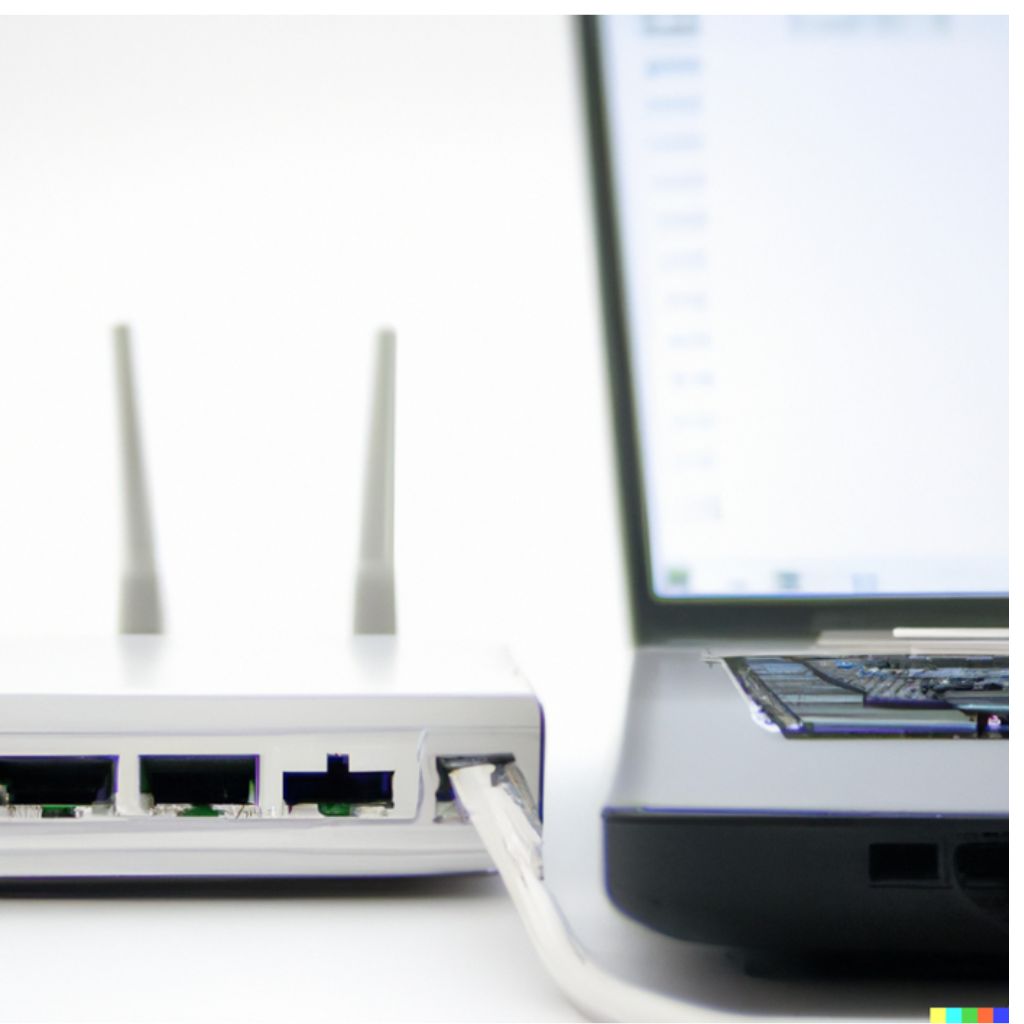
Got a spotty signal? Adjust the router’s antennas—point them up or outward. Move it away from walls, microwaves, or cordless phones (they cause interference). Test with a Wi-Fi analyzer app for best placement.
Step 6: Advanced WLAN Management
MAC Address Filtering (Restricting Device Access)
Want tighter control? Use MAC address filtering. Every device has a unique MAC address (like 00:14:22:01:23:45). Add trusted ones to a whitelist in your router’s settings—strangers can’t connect, even with the password.
Guest Networks (Setting Up Temporary Access)
For visitors, set up a guest network. It’s a separate WLAN with its own SSID and password. Limit its speed or access to keep your main network safe. Find it under “Guest Wi-Fi” in the admin panel.
Parental Controls (Limiting WLAN Usage Times)
Kids online too much? Parental controls let you block WLAN for specific devices or times—like no Wi-Fi after 9 PM. Check your router’s “Access Control” or “Parental” section.
Step 7: Security Best Practices
Regular Password Changes
Change your Wi-Fi password every 6 months. It’s a simple habit that keeps intruders out. Use a password manager to track it.
Firmware Updates (Why They Matter)
Outdated firmware is a hacker’s dream. Regular firmware updates patch vulnerabilities—check monthly or enable auto-updates.
Monitoring Connected Devices (Detecting Intruders)
Log into your router and look at the “Connected Devices” list. Spot an unknown device? Block it and update your password pronto.
Related Courses
FAQs
How Do I Find My Router’s IP Address?
See Step 2—it’s your default gateway, found via ipconfig on Windows or network settings on a Mac.
Can I Disable WLAN for Specific Devices Only?
Yes! Use MAC filtering or parental controls to block specific gadgets from connecting.
What’s the Difference Between WLAN and Wi-Fi?
WLAN is the broader network concept; Wi-Fi is the specific technology powering most WLANs.
Why Does My Router Keep Losing WLAN Signal?
It could be interference (microwaves, walls) or outdated firmware—try rebooting or updating it (see Step 5).
Can I Schedule WLAN to Turn Off Automatically?
Absolutely! Many routers have a scheduling feature in the settings—check Step 4 for details.