Introduction
Juniper routers are known for their robust performance and are widely used in networking scenarios. If you’re looking to experiment with Juniper routers or simulate a network environment for testing and learning purposes, using GNS3 (Graphical Network Simulator-3) can be a great option. In this blog post, we’ll walk you through the process of configuring a Juniper router and installing it in GNS3.

1. How to Configure a Juniper Router Step by Step
Configuring a Juniper router involves several steps. Below, we’ll provide you with a step-by-step guide to help you configure your Juniper router:
Step 1: Physical Setup
- Ensure you have a Juniper router available for configuration.
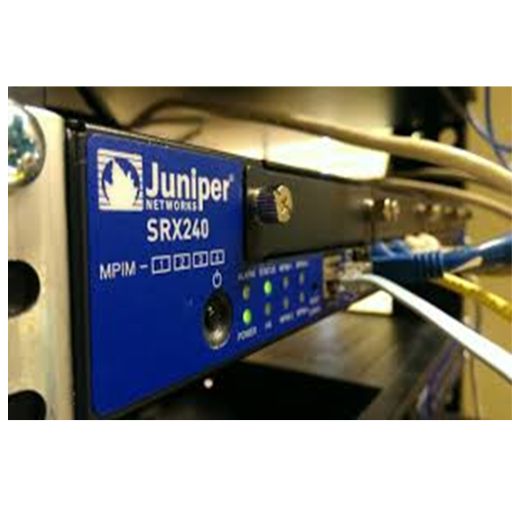
- Connect your computer to the router using an Ethernet cable or console cable.
Step 2: Access the Router
- Use a terminal emulation software like PuTTY or SecureCRT to establish a console connection to the router.
- Connect to the router’s console port using the appropriate settings (baud rate, data bits, stop bits, etc.).
Step 3: Basic Configuration
- Log in to the router with the default username and password (usually ‘root’ and ‘Juniper’).
- Change the default password to enhance security.
- Set the hostname for your router using the “set system host-name” command.
Step 4: IP Address Configuration
- Configure the router’s IP address on the management interface.
- Set up DHCP or static IP address assignments as needed.
Step 5: Routing and Interfaces
- Define the interfaces you’ll use, assign IP addresses, and enable them.
- Configure routing protocols like OSPF or BGP, depending on your network requirements.
Step 6: Security and Access Control
- Implement firewall policies to control traffic.
- Set up access control lists (ACLs) if necessary.
- Ensure proper security measures are in place.
Step 7: Save Configuration
- Save your configuration changes using the “commit” command.
2. How to Install Juniper Router in GNS3

To install a Juniper router in GNS3, you’ll need to follow these steps:
Step 1: Download Juniper Router Image
- Visit the Juniper website or a trusted source to download the Juniper router image (usually in .qcow2 format).
Step 2: Install GNS3
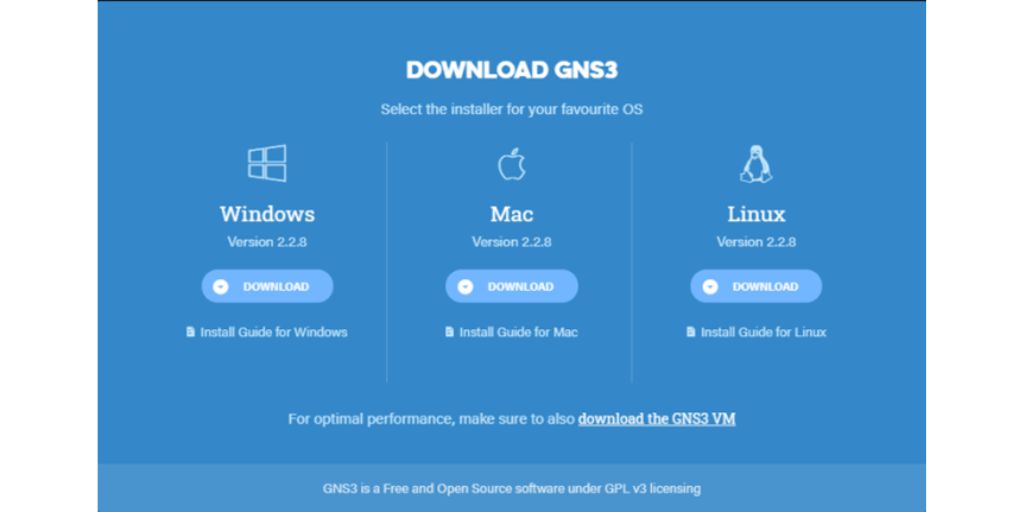
- If you haven’t already, download and install GNS3 on your computer.
Step 3: Add Juniper Router to GNS3
- Launch GNS3 and go to “Edit” > “Preferences.”
- In the “QEMU” section, click on “Juniper” and then click “New.”
- Provide a name for your Juniper router and browse for the downloaded image file.
- Configure the required RAM and CPU settings.
- Click “Apply” and then “OK.”
Step 4: Create a Topology
- In GNS3, drag and drop the Juniper router you just added onto the workspace.
- Connect it to other devices in your network topology as needed.
Step 5: Start the Juniper Router
- Right-click on the Juniper router in your topology and select “Start.”
Step 6: Configure the Juniper Router in GNS3
- Access the Juniper router console by right-clicking on it and selecting “Console.”
- Configure the router just as you would with a physical router using the steps mentioned earlier.
3. How to Add Juniper Router in GNS3
Adding a Juniper router to GNS3 is a straightforward process, as outlined above. Once you have installed GNS3 and added the Juniper router image, you can easily integrate it into your network topologies and configure it as needed.
Conclusion :
Configuring and installing a Juniper router in GNS3 allows you to experiment with Juniper networking equipment, test different network scenarios, and improve your networking skills in a virtual environment. By following the step-by-step instructions provided in this blog post, you’ll be well on your way to creating and configuring Juniper routers within GNS3 for your networking projects and learning endeavours.

